How to build a simple miter saw fence - DIY (simple version)
In my last post I've shown how to quickly build large, professional miter station MUREK240 from scratch.
Today I'll show You another solution, a bit simpler, that I used in my workshop when a needing to use one miter saw to cut wood and work with a smaller one for aluminum.
SIMPLE VERSION OF MITER SAW FENCE
List of required elements:
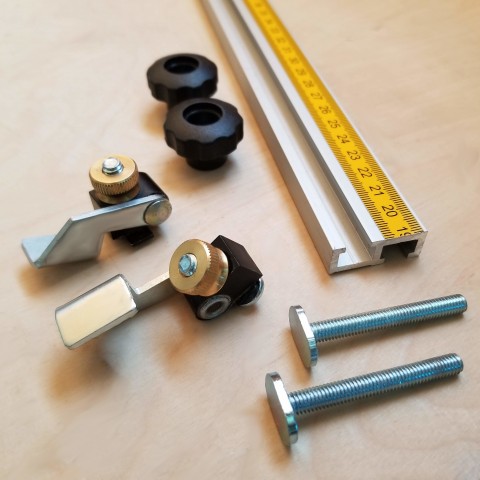
- up-down t-track
- mini flip stops x 2
- 2x M6 T-bolts with minimum lenght of 50mm.
- 2x M6 Through knobs (with pads)
- right or left-sided measuring tape (depending on which side the miter guide will be placed)
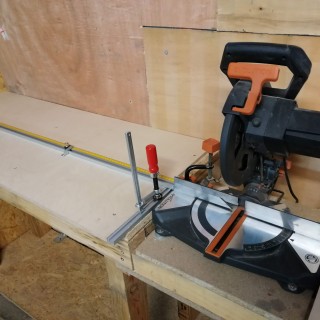
The first step is to prepare a base for the miter saw, renembering to set the it lower than the workbench, so that the workbench and miter saw cutting area are on the same level.
You may see how we made this - simply check here :D
When the base is finished we put tabletop onto it. In simplified version a wooden tabletop is enough. However, if You want to be forward looking - I strongly recommend using an OSB plate first and puttnig a plywood top on it - some day You might want to mount t-tracks into this workbench for an easy mounting of clamps.
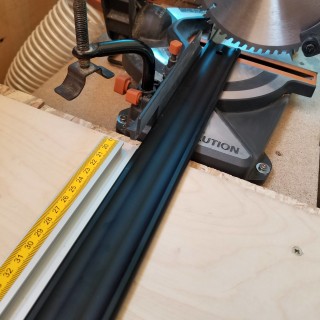
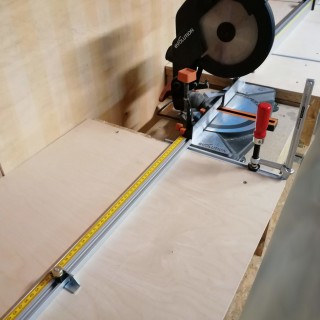
When the workbench is ready, it's time for mounting the miter guide:
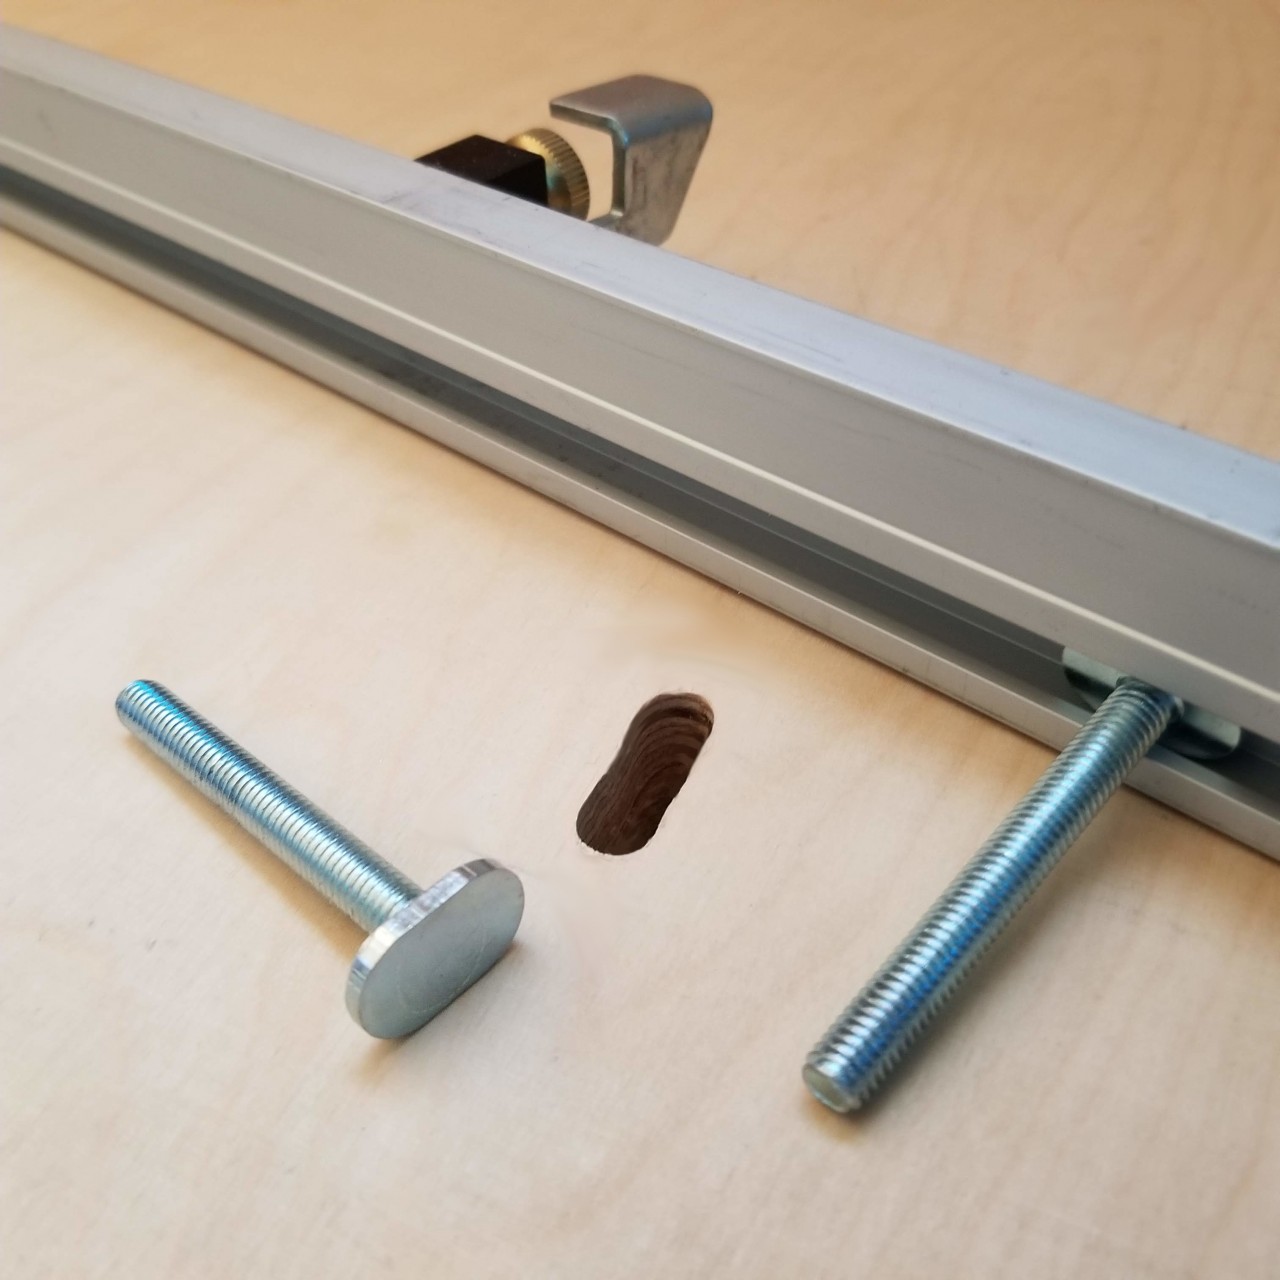
1. We start from drilling two long holes through the workbench, we'll be able to adjust the guide "front-and-back" in relation to the miter saw front.
Depending on the needs, holes should be about 3cm long (the longer they are the greter the adjustment range will be).
2. Then, T-bolts (their lenght depending on the thickness of the workbench) need to be placed in bottom grooves of the t-track and into the the holes. These bolts allow for left and right adjustments in relation to miter saw. To calibrate a perfectly straight line we recommend to use a solid edge ruler.
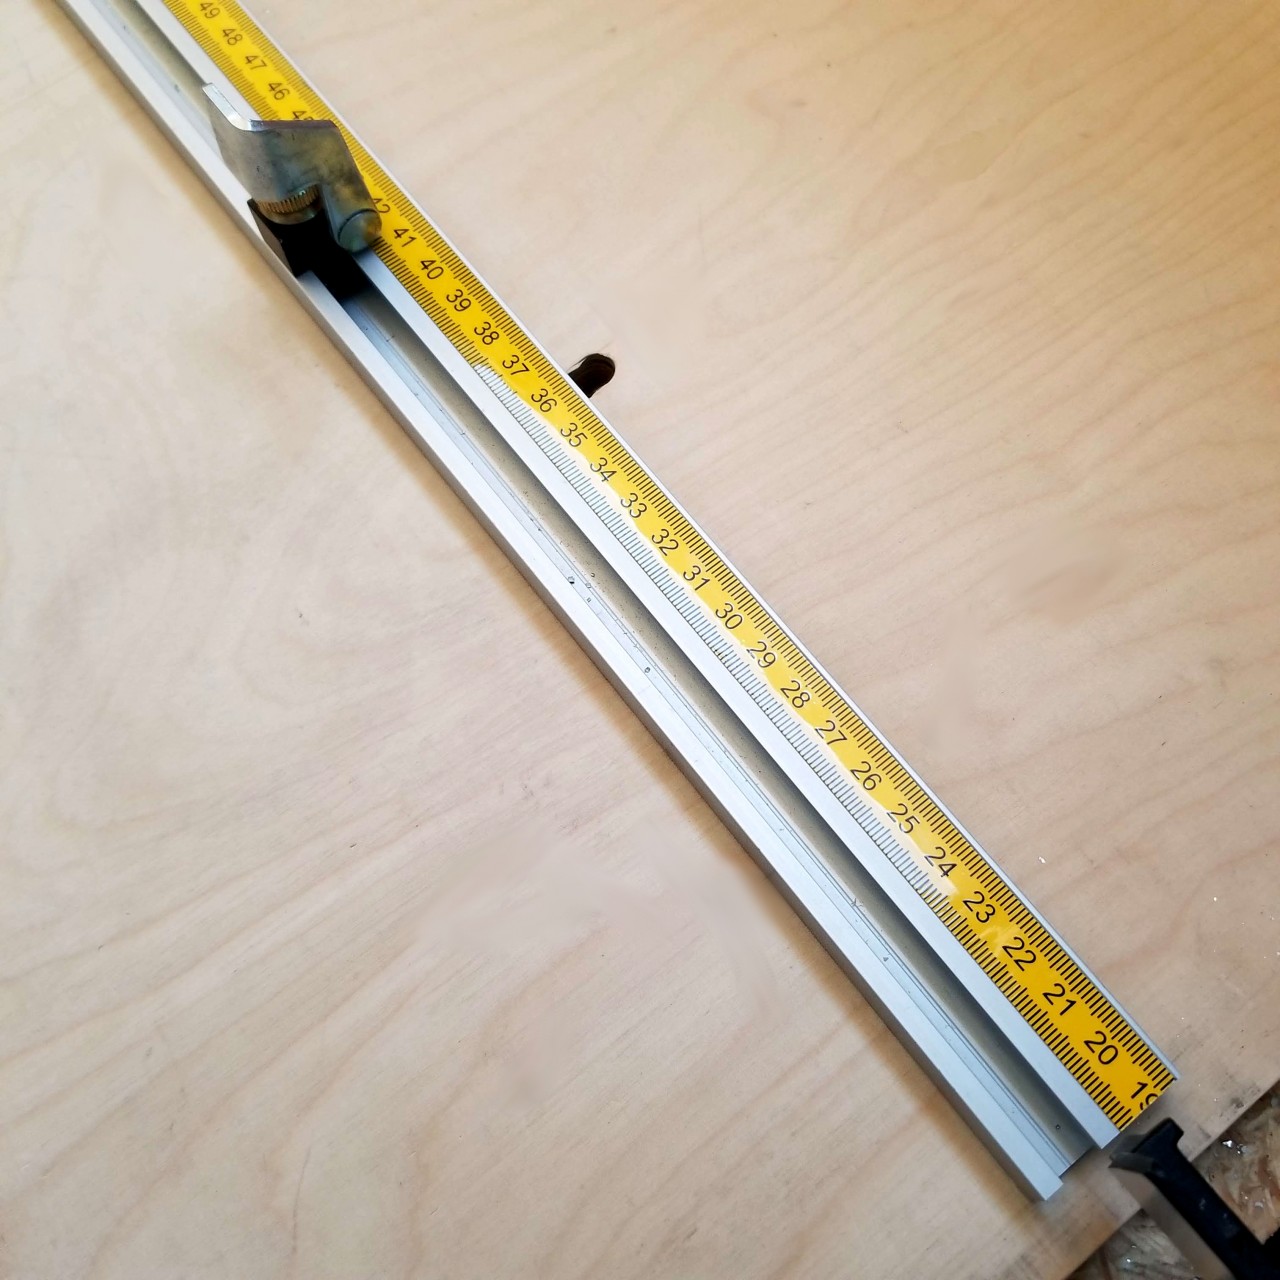
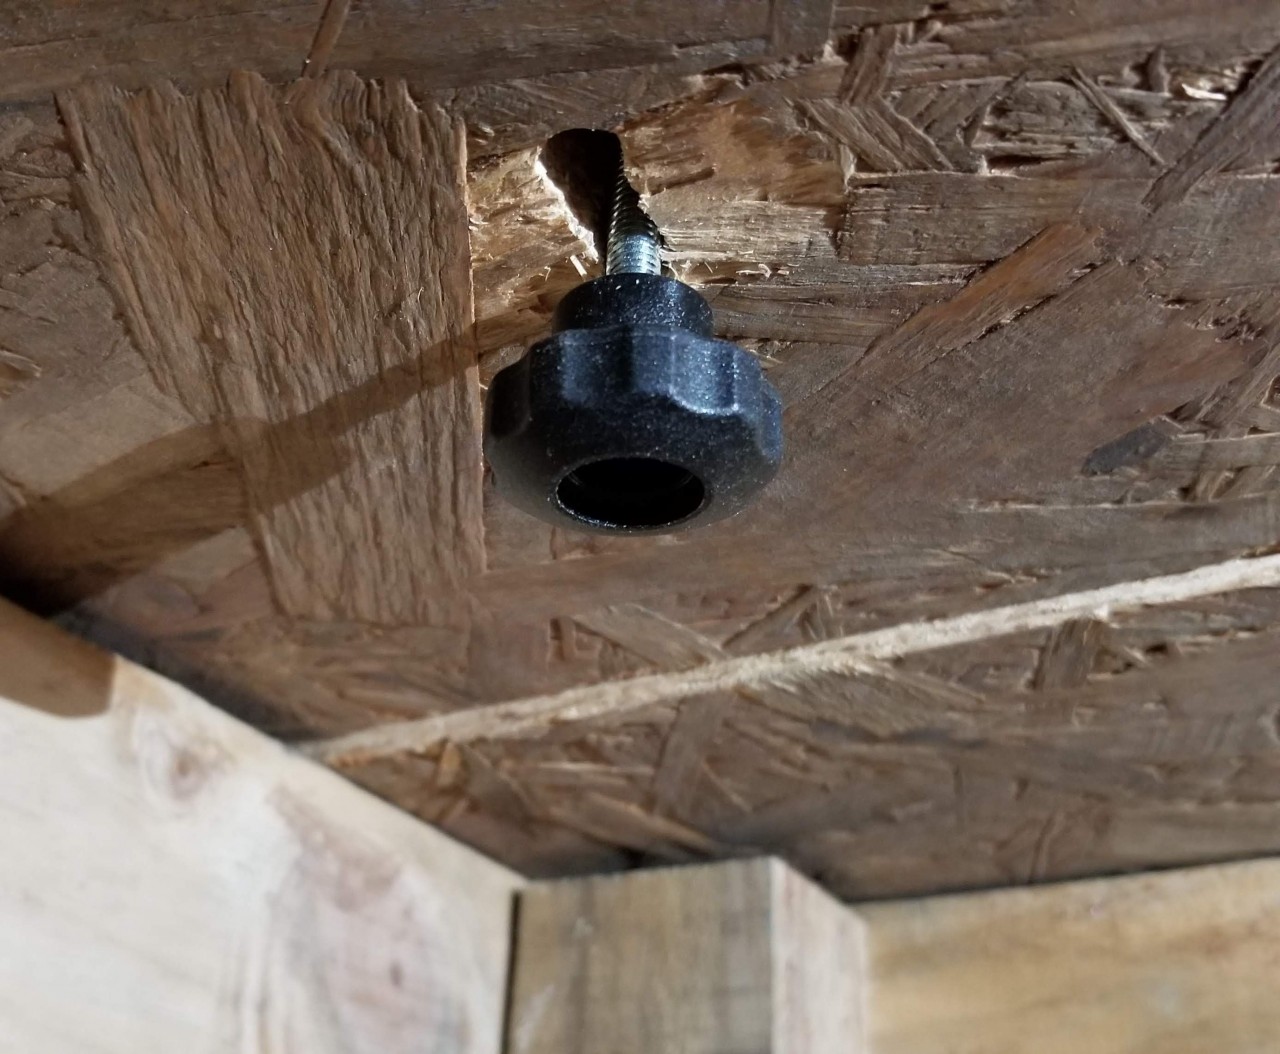
When everything works, we screw the knobs on the t-bolts from the bottom of the workbench and fix the t-track in one place. We then mount the mini flip stops on it (they allow to cut the workpiecec in two pre-set lenghts without having having to constantly change the position).
All that's left is sticking the measuring tape, calibrating its distance from the blade and you are good to go.:)
Related Posts
Comments
By accepting you will be accessing a service provided by a third-party external to https://woodfan.pl/
 English
  Polski (PL)
 German

