 English
 ") Polski (PL)
Polski (PL)
 German
Dovetail Joints - hand tools review

Dovetail joints are a classic, durable, and aesthetic solution in woodworking and carpentry. They provide a large contact surface, excellent tensile resistance, and a beautiful traditional look—which is why it is worth knowing how to make them in furniture, box-making, and timber framing projects. Even if you are just starting your woodworking journey, learning to cut dovetails develops precision, tool knowledge, and the overall craftsmanship of every project.
Tools for Dovetail Joints
Marking Tools
Precise marking of components, transferring thickness, and scribing lines at the correct angle is basically half the battle when creating dovetail joints. This is a stage that must be approached with a great deal of patience and proper accuracy, as this guarantees a good fit between the elements. The "by eye" method simply will not work here.
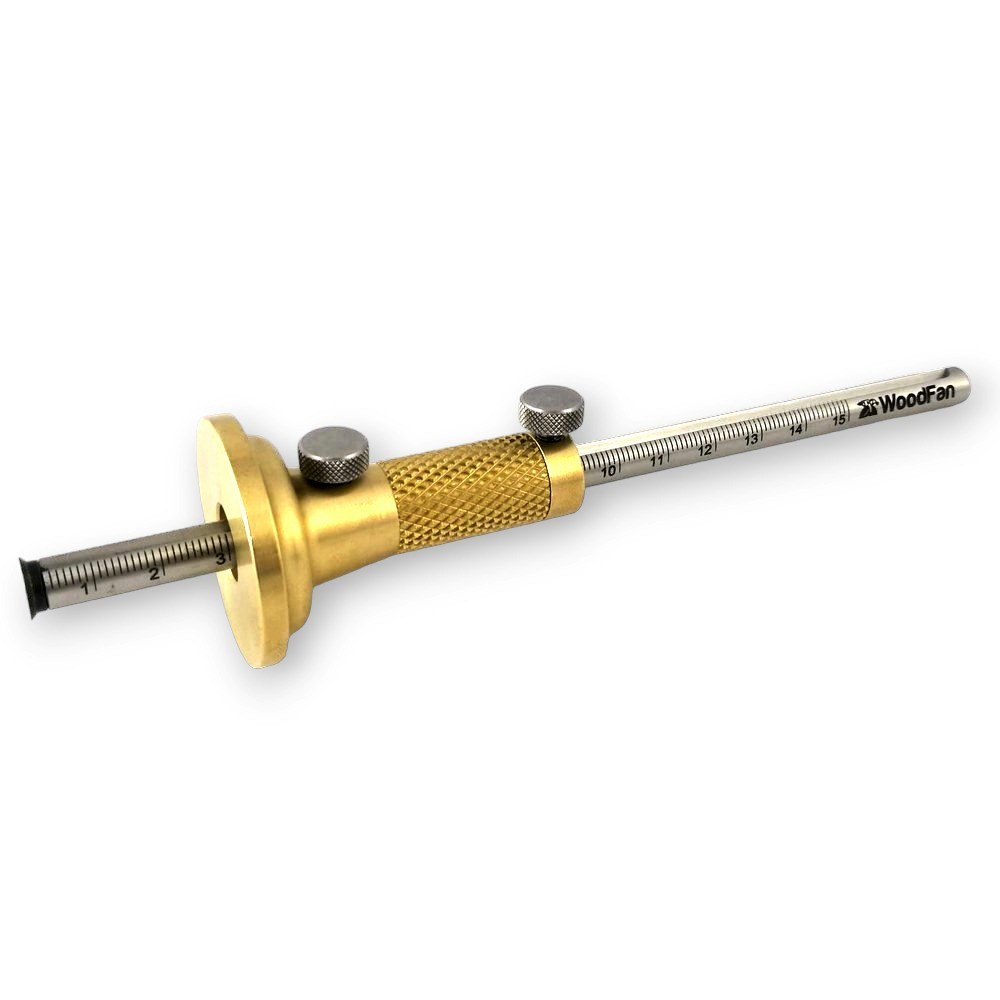
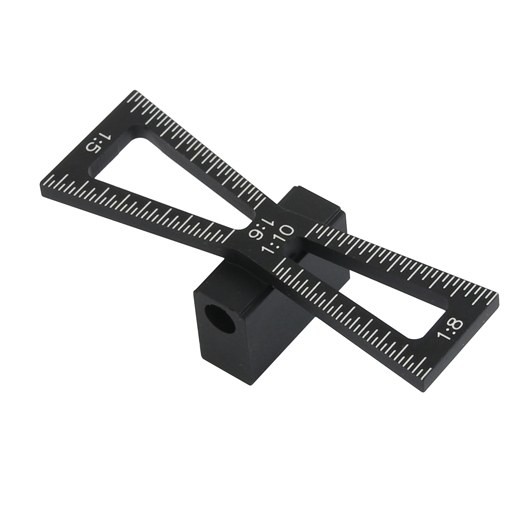
There is a range of tools designed for the precise scribing of all joints. For scribing lines parallel to the edge, we highly recommend a versatile marking gauge like the ZS1 or ZS2. For marking angled lines, it is worth equipping yourself with markers dedicated specifically to dovetails, such as the J2 dovetail marker.
Our tip:
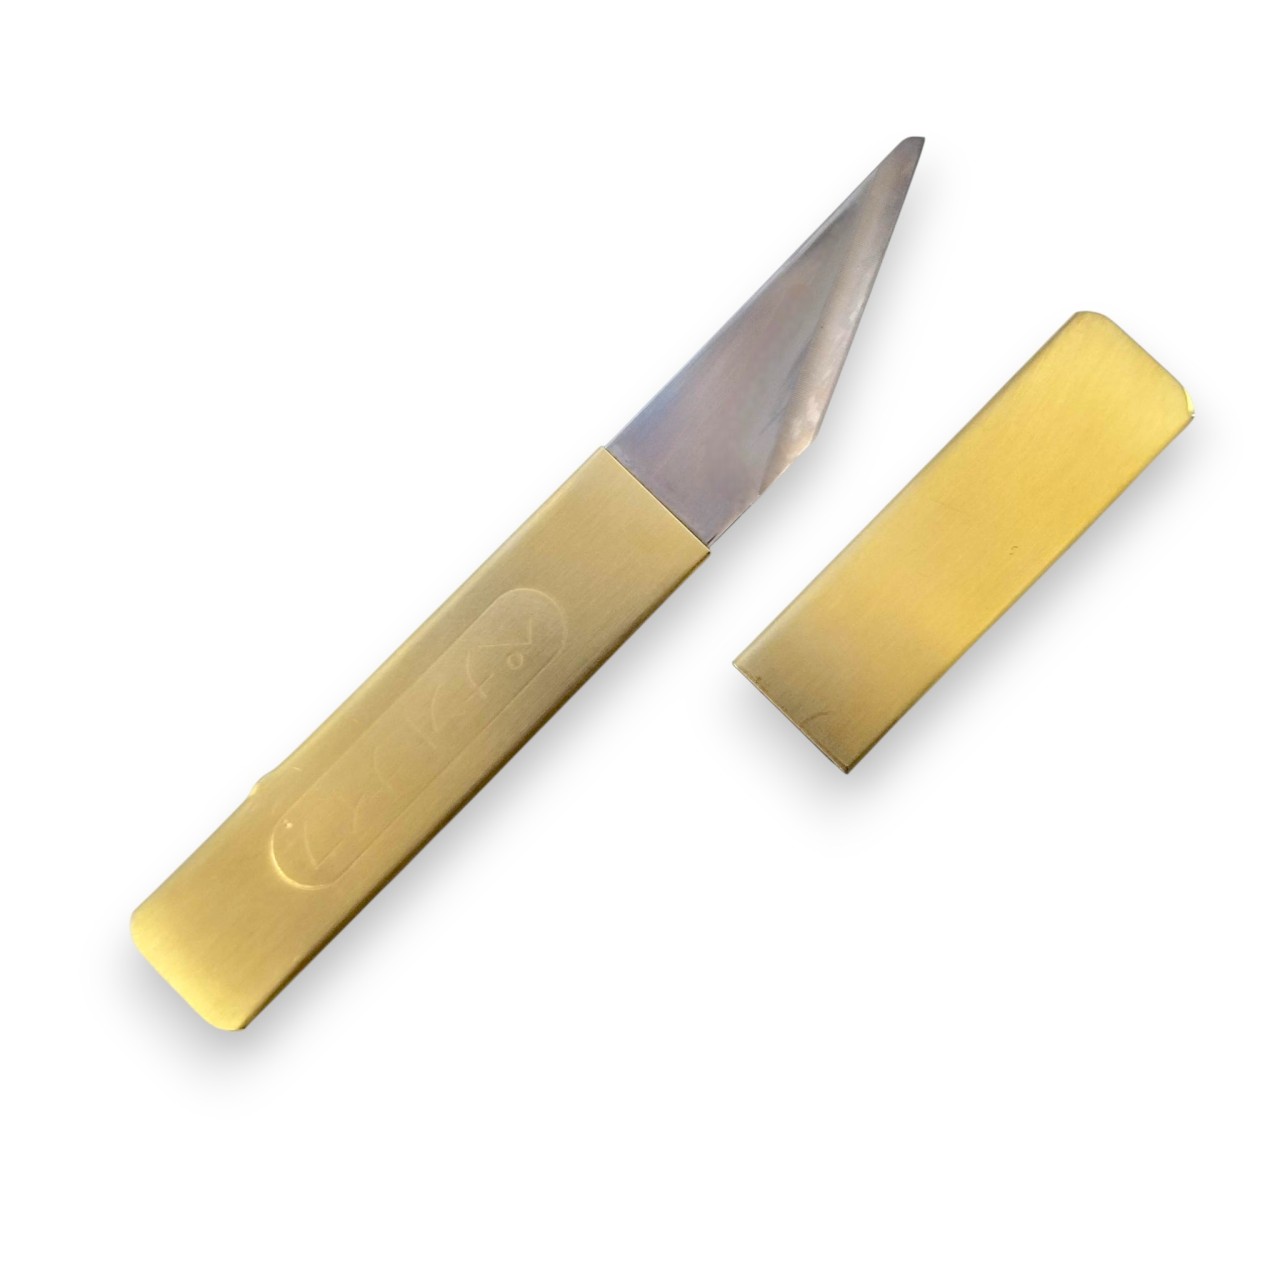
Instead of traditional carpenter's pencils, choose a tool that creates extremely fine lines. A thick graphite mark can be misleading, especially while sawing. It is much better to get a marking knife (we recommend the Japanese SS knife) or a fine-lead mechanical pencil to best reflect the exact cut line.

Hand Saws and Guides
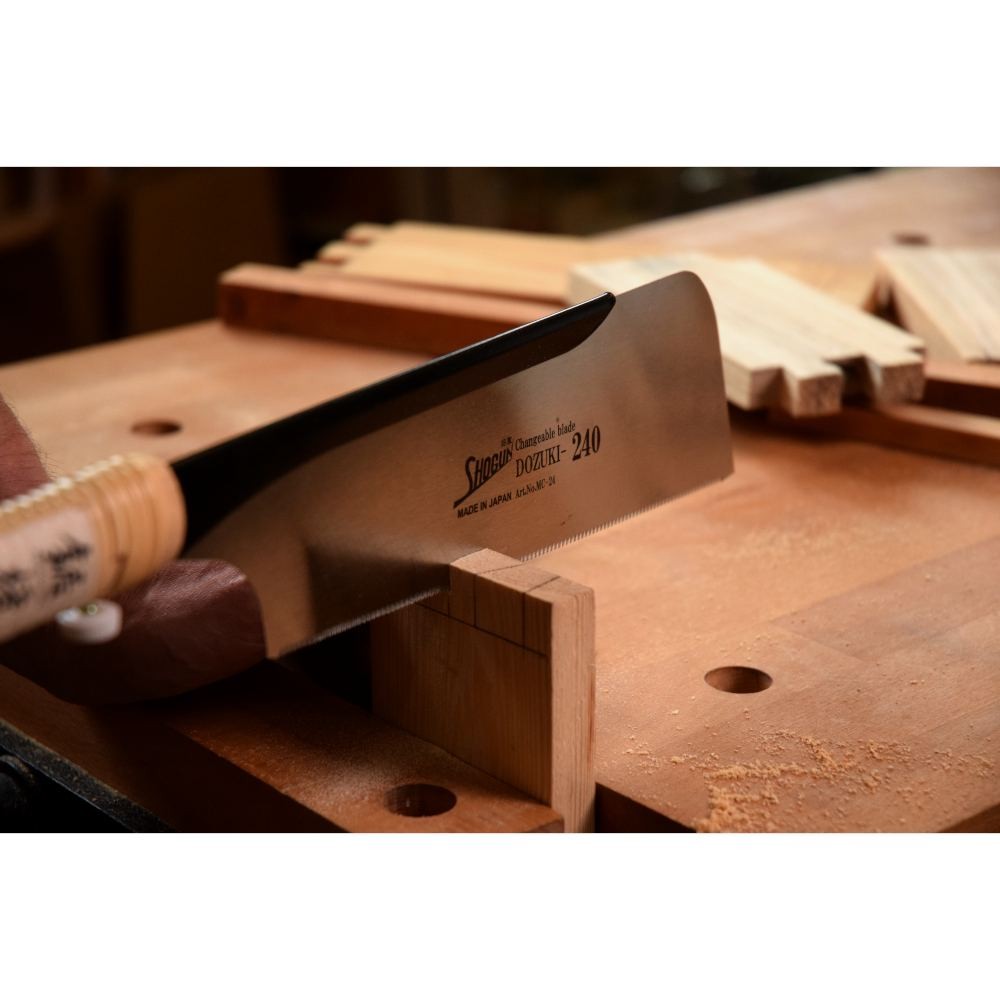
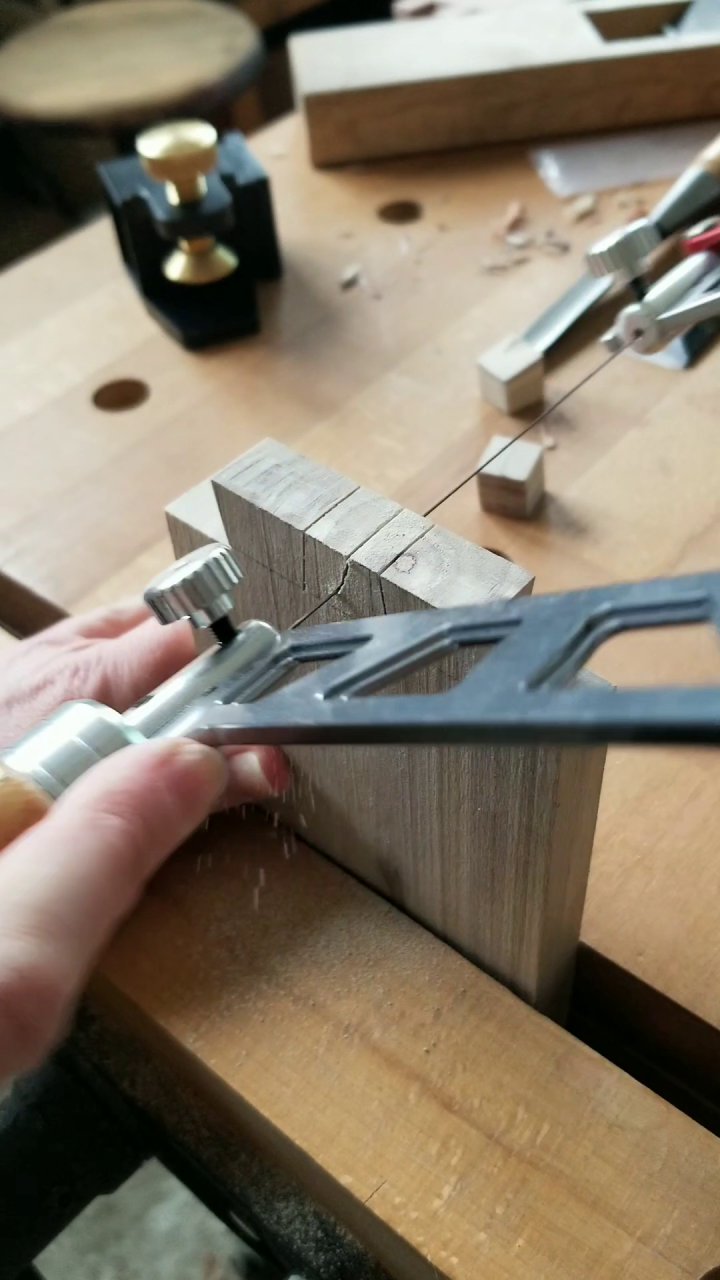
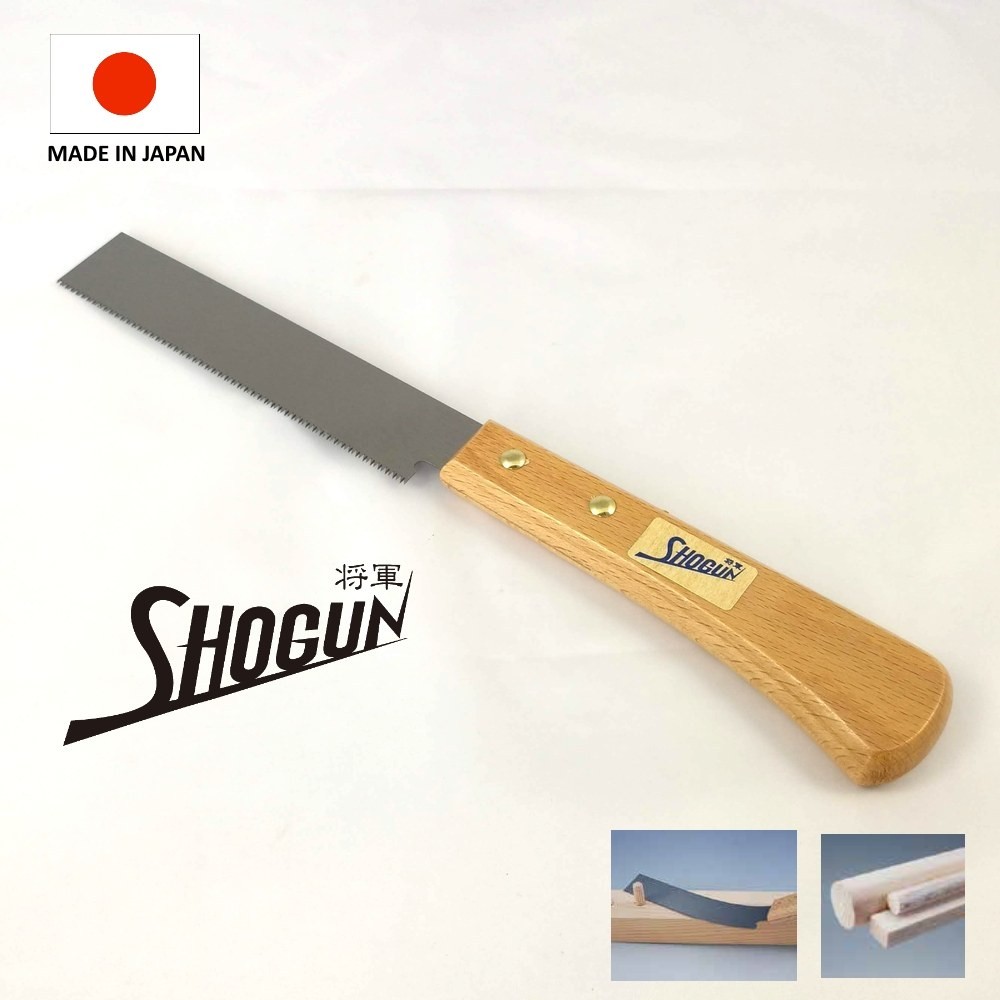
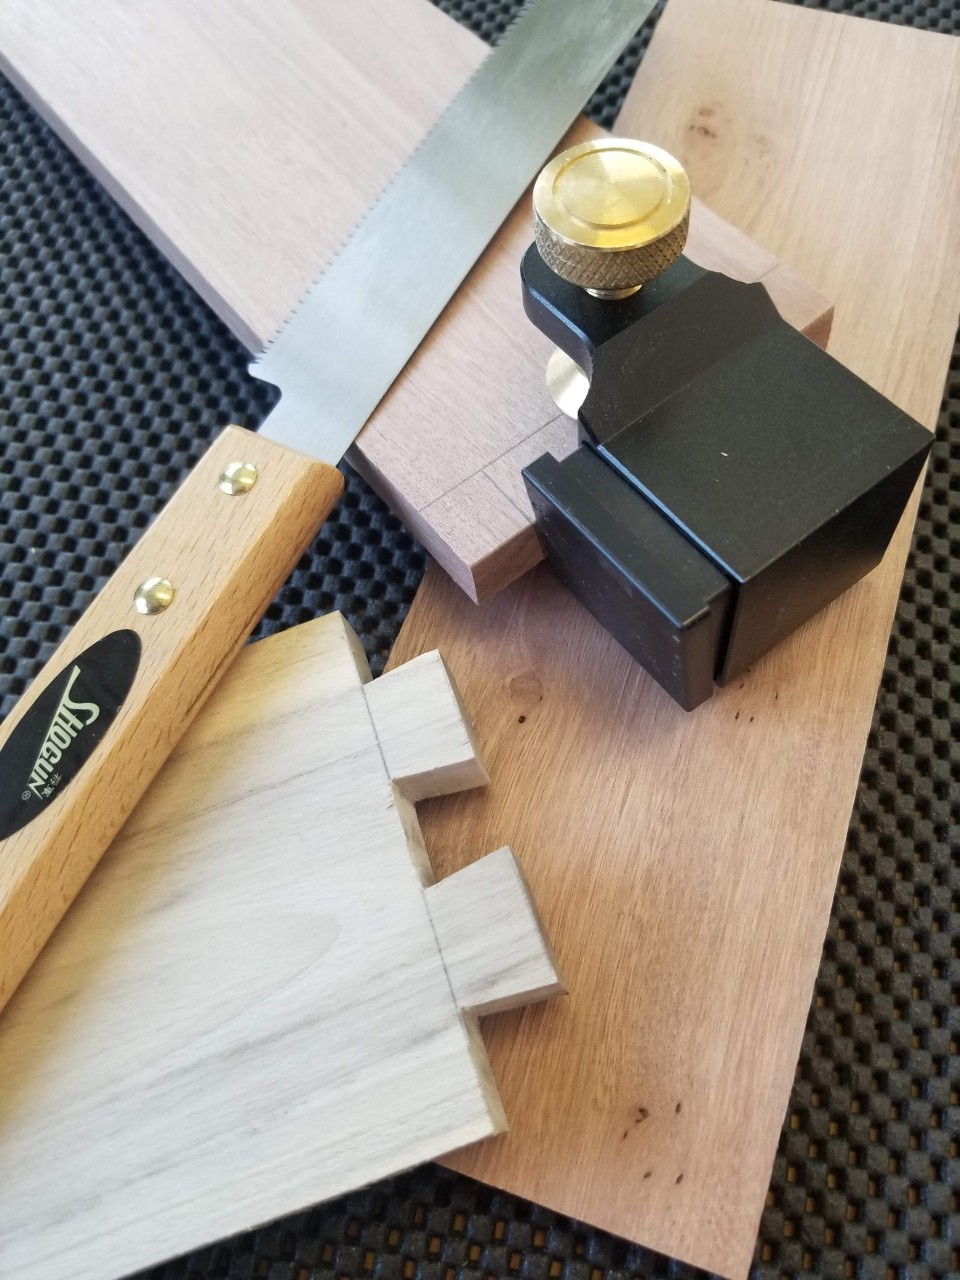
A hand saw is a basic tool in any woodworking shop. When making joints, you should equip yourself with a thin-bladed saw featuring fine teeth (a thin kerf) for precise cuts. Japanese saws will be invaluable helpers here, as they are specialized for creating complex, precise wood joints. A dozuki saw (e.g., MC24) or a kugihiki (FL150) is highly recommended for this task.Precise "freehand" cutting requires practice and patience. To make this process easier, angled saw guides come to the rescue, such as the magnetic dovetail saw guide (WN0008).
The guide helps maintain a consistent angle and a perfectly straight cut line. Used together with a hand saw, it significantly improves the repeatability of your components.
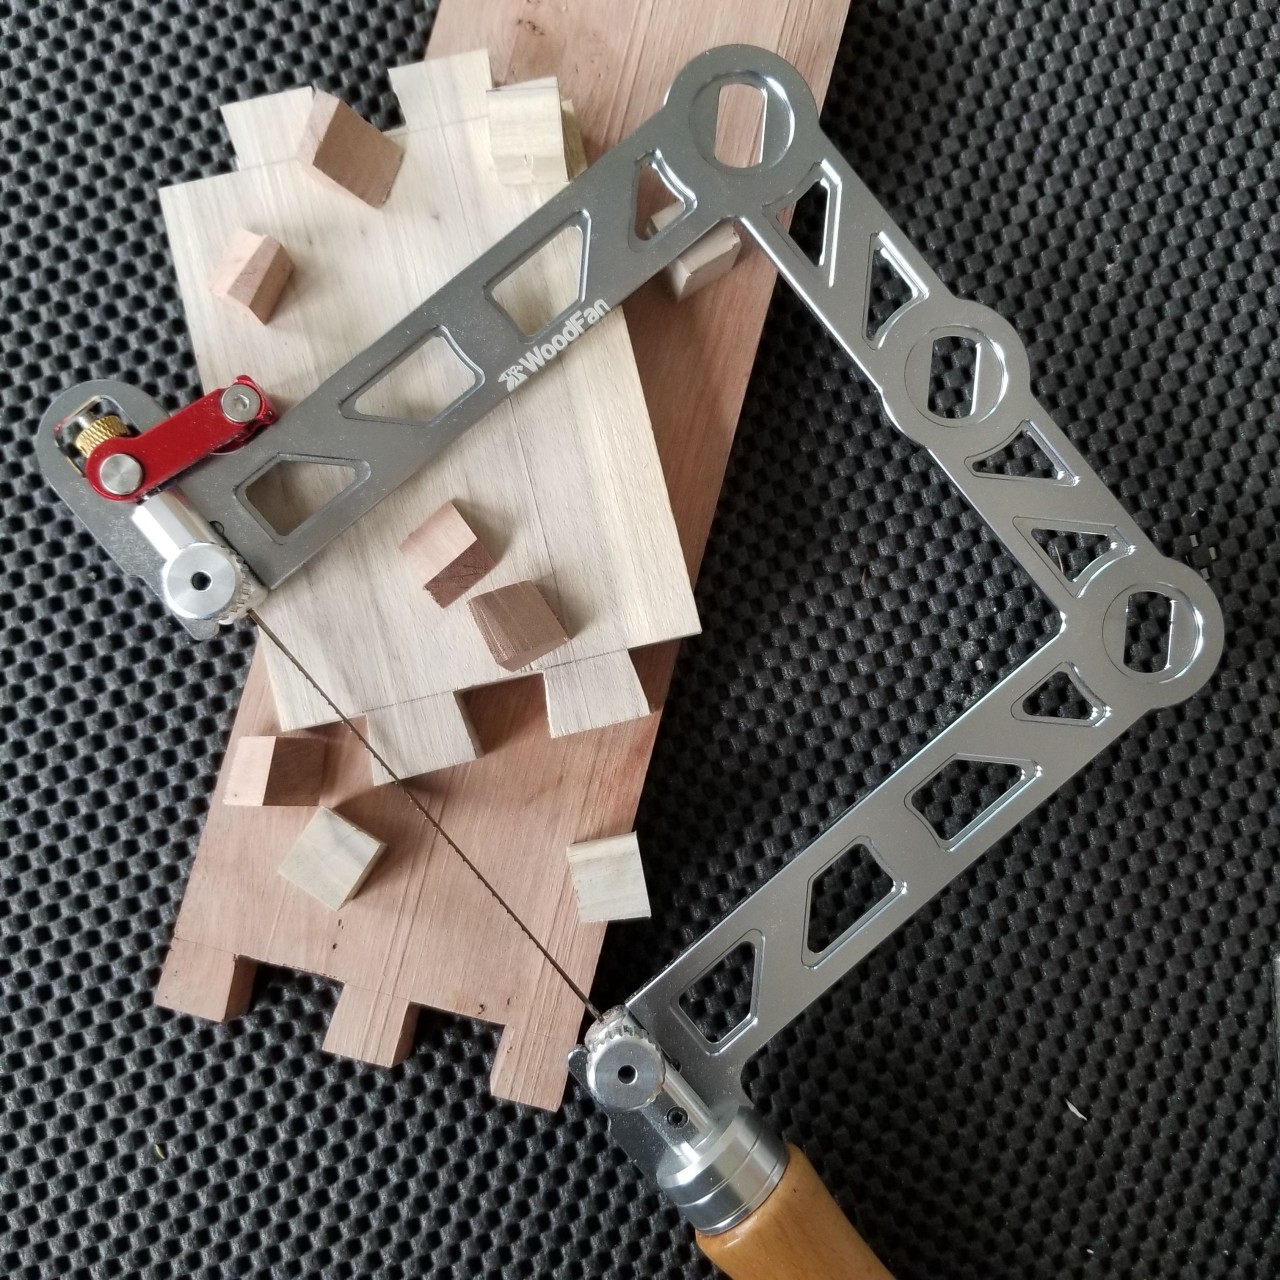
Coping Saws
Coping saws are undoubtedly exceptionally versatile tools in the workshop. They are perfect for clearing out the "waste" between the dovetails after you have made your precise cuts with a straight saw.
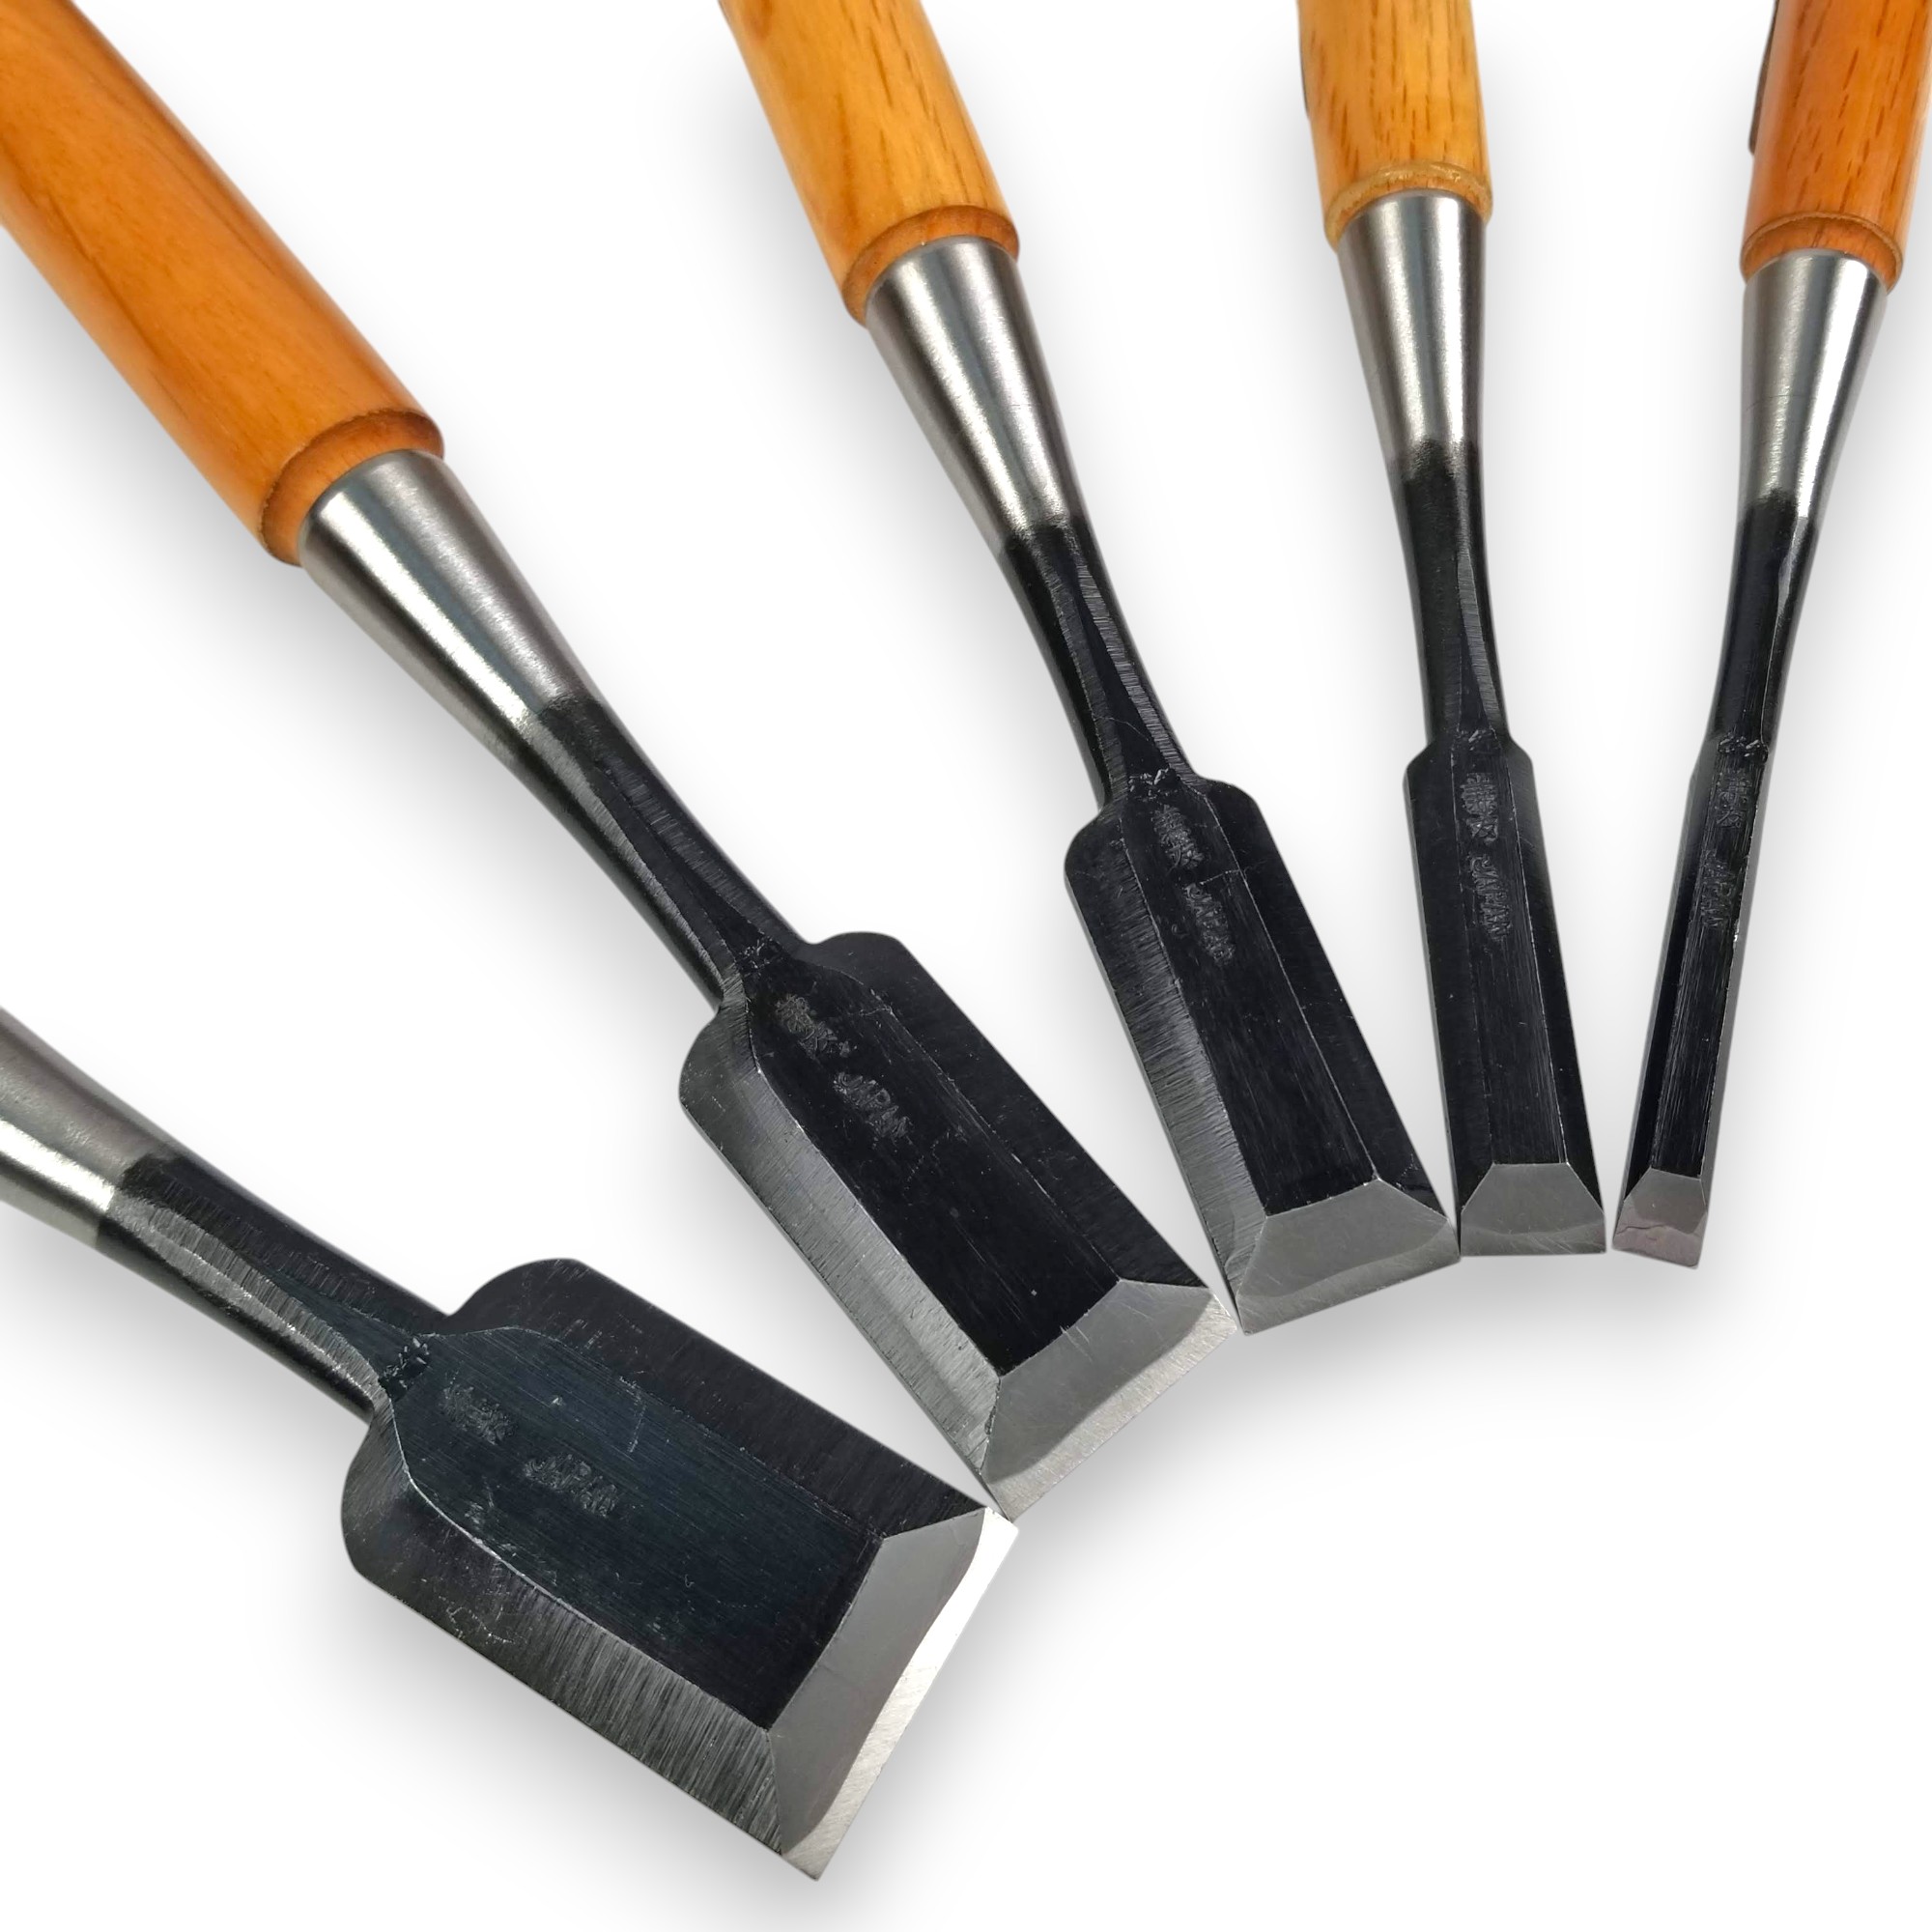
Various chisel widths allow you to cut out recesses and clean up the dovetail sockets. A high-hardness bench chisel with a comfortable handle gives you total control when chopping out corners. For us, Japanese Oire Kanetomo bench chisels are reliable helpers that are always ready for work.
Our tip:
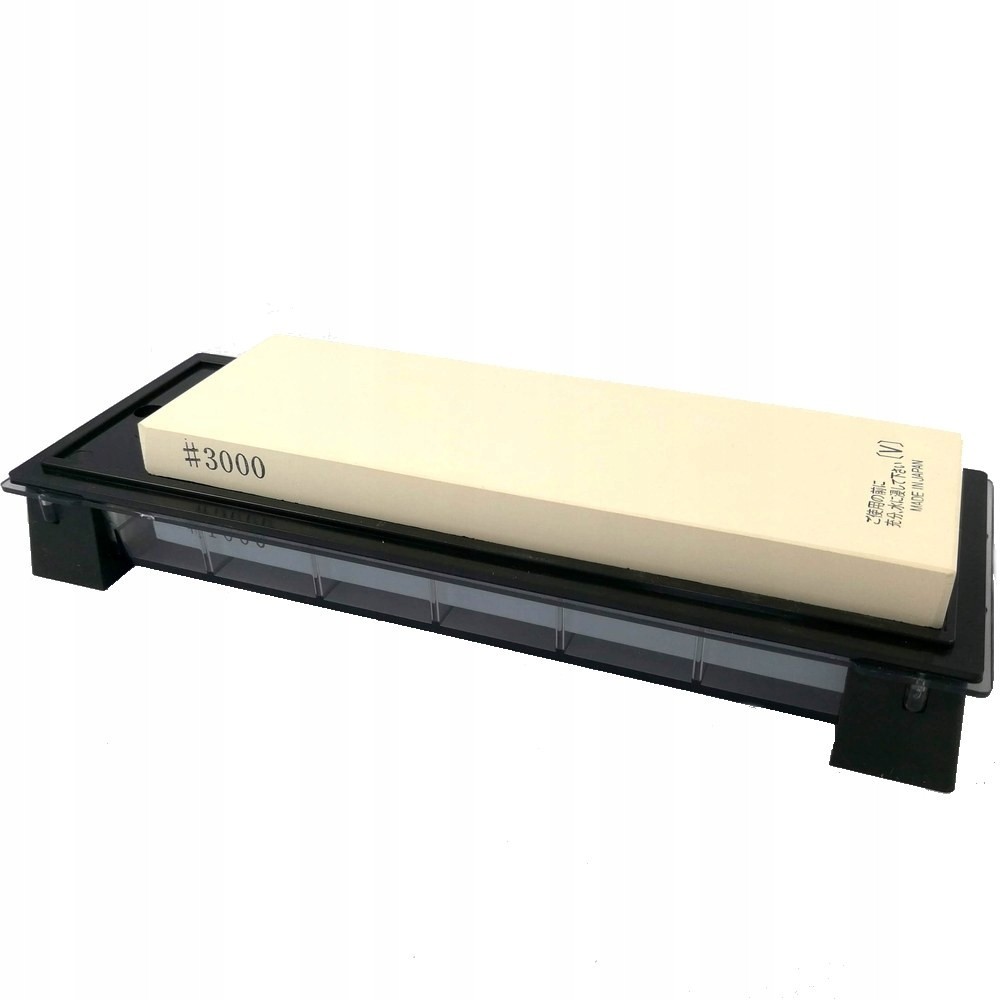
ALWAYS keep your wood chisels razor-sharp. Dull chisels increase the risk of tear-out and mistakes, which in turn makes you want to throw the project into a corner. Do not skip sharpening your tools, and your project will turn out flawless.
Dodatkowe przydatne akcesoria:
Step-by-Step Dovetail Guide
- Always mark the waste areas to be removed with scribbles; this will help keep things clear while you work.
- Practice on cheap scrap wood before cutting into your final material, as the learning phase is meant for making mistakes.
Preparation and marking: Measure the pieces and decide on the number of tails and pins. Mark the lines on both parts using a marking knife or a fine pencil: the tails on one piece, and the outline of the pins on the other. Use a marking gauge to score the depth of the cut.
Cutting the tails: Secure the workpiece in a vise. Use a hand saw guide to cut the tail lines at the correct angle, ensuring the hand saw tracks perfectly straight along the line.
Removing waste material: Rough out the waste material between the tails using a coping saw or a wood chisel, working gradually while checking your angles and depth.
Marking and cutting pins: Hold the board with the tails against the end grain of the mating board and transfer the tail outlines. Make your saw cuts and remove the waste material from the sockets.
Fitting and cleaning: Check the fit. Use wood chisels to carefully pare the corners and contact surfaces, removing excess material until the joint engages snugly without requiring excessive force.
Final assembly and gluing: After achieving a perfect dry fit, apply wood glue and clamp the assembly. Remove any squeeze-out and leave it to dry.

Do not get discouraged if your first attempts do not go according to plan—craftsmanship and precision come with time
Dovetail joints require an exceptional skill that adds incredible value and durability to your woodworking projects. Start with simple test joints using a hand saw, marking gauge, saw guide, and wood chisels. Practice makes perfect!
About the author

Related Posts
Comments
By accepting you will be accessing a service provided by a third-party external to https://woodfan.pl/